
How to interpolate video on a Mac
OpenDuckFrame is a free, open-source Mac app that generates intermediate pictures for windows, displays and local video in real time. On an Apple silicon Mac, open File → Quality Workbench, choose a source, start with 2× frame generation, and compare the FPS overlay and the picture with the original. Picture processing stays on your Mac.
Check your Mac and display first
- Mac and system: Apple silicon and macOS 14 or later. Intel Macs, Windows, iPhone and iPad are not currently supported.
- Engine requirements: RIFE uses Metal on Apple silicon. Apple FRC and low-latency interpolation require macOS 26, compatible hardware and supported input configurations. Use the availability state shown in the app.
- Display: Its refresh rate limits how many distinct pictures you can see. A 60 Hz display cannot present 120 distinct frames per second.
Get the GitHub release from the official download section. The current community build is not Apple notarized. Check the download source before deciding whether to allow its first launch through macOS.
Start with a simple 2× setup
- Open the Quality Workbench. Choose File → Quality Workbench, or press ⇧⌘E.
- Choose an input and output. Select the browser window for web video, a player window for content in a player, or Video file to use a local file directly. For display capture, avoid capturing the enhancement output again.
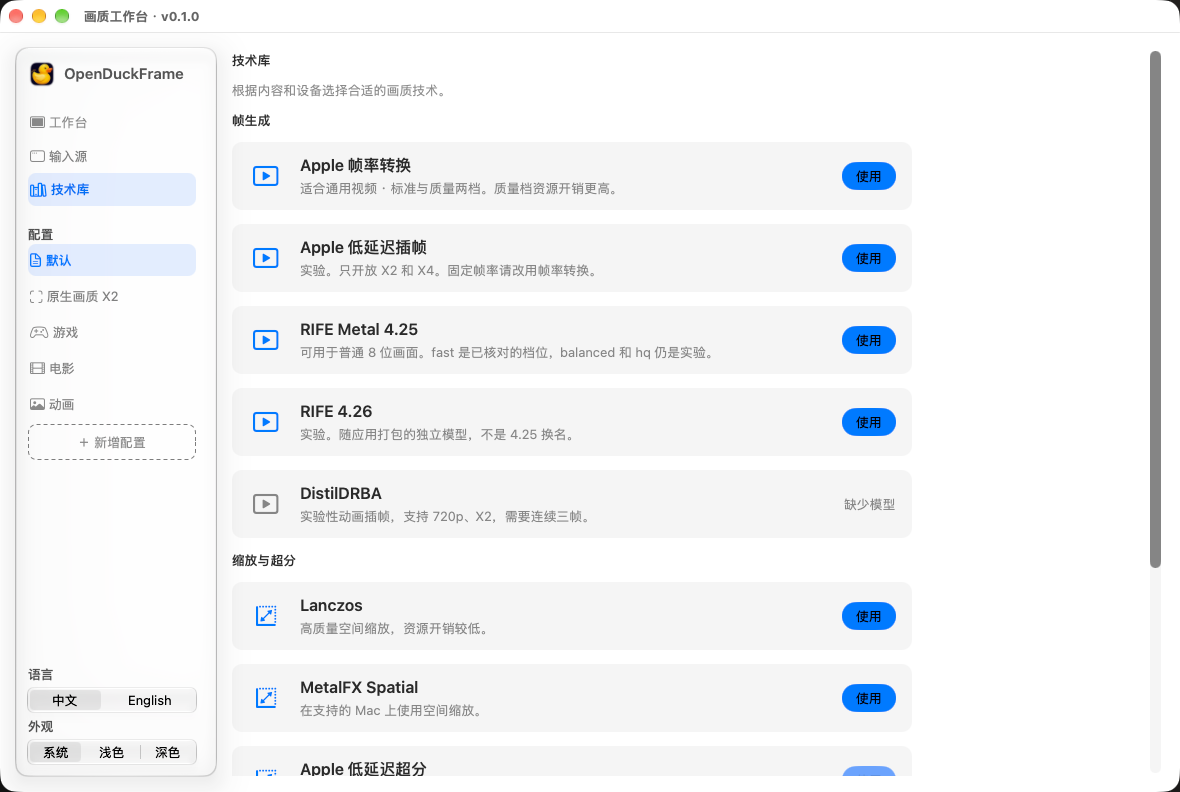
- Enable one enhancement first. Choose an available frame-generation engine and start at X2. Higher source resolutions and multipliers need more processing time.
- Start and compare. Press Start enhancement. Switch between Original, Enhanced and Comparison views, check the actual FPS overlay, and save a profile once the result suits the content.
Window and display capture need Screen Recording access in System Settings → Privacy & Security. Local video-file playback does not need that capture permission. The setting name can vary with the macOS version.
Why does 4× not always mean 120 fps?
A multiplier is a requested processing mode. For example, 30 fps × 4 has a theoretical target of 120 fps. Model computation, output scheduling and physical presentation are separate stages. The engine, source cadence, resolution, frame budget and display refresh rate affect the result.
Do not judge output from the multiplier or the number of generated pictures alone. Check actual presentation and how the picture looks. If it cannot keep up, return to X2, lower the source resolution, or try a lighter quality mode.
What if capture, detail or motion looks wrong?
- No captured picture: check Screen Recording permission and the selected source. Protected content may not be capturable.
- Softness or motion artifacts: compare at the same output size, switch engines, or disable one enhancement at a time to identify which stage changes the picture.
- Problems after resizing or full screen: reselect the source. Start basic checks with a normal window or full-page video.
- More input latency: frame generation adds delay, which varies with the engine and settings. Compare original and enhanced output for latency-sensitive use.
This guide covers real-time enhancement while viewing. Generating intermediate pictures does not increase the source application's simulation or logic update rate.
Sources: the project's quick start and features and requirements. Refer to the current project documentation and the app's availability state for supported configurations.